✅Powder Coating at Home With Great Results ! DIY Curing Oven
Jun 06, 2021It looks pretty and shiny. The
powder
coating
system that we are going to use is through central machinery. I actually picked up this unit at the charging dock, but I'll leave links in the description where you guys can pick up one of these online. I know it's not like that. a professional unit that would produce an industrial type of equality, but with the research I've done online, many places give this unit five stars in the hobby department. I'm pretty sure this unit isn't as good as a thousand or two. thousand dollarpowder
coating
systems, but hey, for a casual user like me, this should work fine.
This particular unit is not very expensive, it will generally cost you between $80 and $120 and that makes this powder coating system the least expensive. expensive component of your powder coating setup because usually the powder coating
oven
is what can cost you hundreds if not thousands of dollars but it doesn't have to be that way so let me show you what I did after searching for a little online. I was able to get this doubleoven
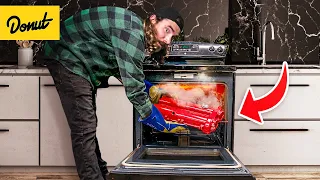
for free and just remember that one thing you don't want to do is use the oven that you have in your kitchen to cure the dust layer because if your dust layer releases some type of toxins you don't want to use that same oven anymore ahead to prepare your food, so actually, if the items you're going to dust are somewhat small, you don't even need a double oven, you can get away with using a regular single oven like this one. or even use a small toaster oven, but in my case I will also be powder coating many of these large elements and these are the studs that will be placed in multiple areas along the frame that I am working on, but how do i do it?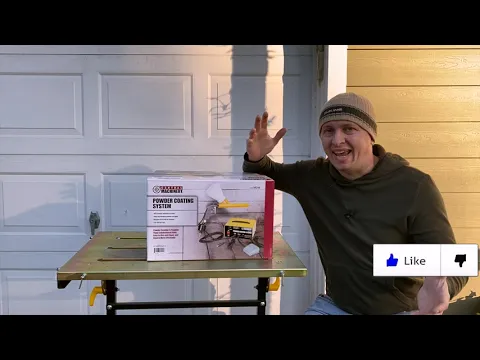
More Interesting Facts About,
powder coating at home with great results diy curing oven...
Since there is not one large compartment but two smaller ones, obviously I can't put this large piece in here and start
curing
it because the door has to be tightly closed, that is the conversion I am going to have to do, I will convert it into a double one. oven in a single large oven. I'll start by removing both doors and since I'm not going to reuse any of the original hinges, it's safe for me to just cut them off with the doors out of the way. Much better idea of everything I have to do to make this work, so the main goal here is to join these two standard size ovens into one large oven and for that I will have to cut the bottom of the upper oven. and also the top part of the lower furnace will have to go and once again to speed up the process I will use my plasma cutter to trim out all the unnecessary parts of these furnaces but I'm not sure what kind of effect the plasma cutter will have plasma into this fiberglass insulation that's stuffed here because I'm trying to preserve as much of this insulation as possible to keep my large furnace as insulated as possible, so let's go ahead and break this down real quick.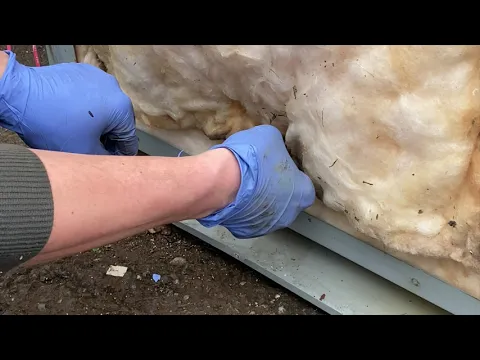
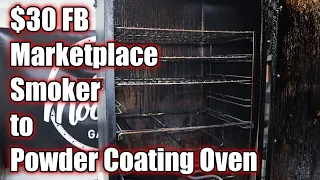
There's quite a bit of wiring back here so I think I'm going to go ahead and unplug everything and mark it so this way I don't have to guess later where everything goes with the wiring out of the way, now it's safe. To gut the oven, I'll be reusing some of these items at once, so I'll take them out now so they don't get damaged in the process. With a little coaxing, the oven pans will slide out and, as I mentioned above, I will. I try to preserve as much of this insulation as possible, so I'm careful to remove it well so this thing is gutted.
I drew my cut line and was basically looking at it. I just wanted to continue this straight line to the edge. of the cabinet and continued down and did it in all four corners. If you were to ask me what are the three most useful tools I have in my entire garage, then I would say it would have to be my welder, my spotter. tool and my plasma cutter. I know that each tool is designed to do its particular job and you can't use one instead of the other, but what I'm trying to convey here is that these are some of my most useful tools, especially the plasma cutter.
It makes working with metal really really easy and super fast, so if you guys do a fair amount of metal work and don't have a plasma cutter, do yourself a favor and get one, hey, it looks pretty cool now on the shelf here. I'm not going to cut it exactly on the same line that I made these cuts here, the reason is that I'm going to have my insulation here again and I actually want to make some room for it to go through, so I'm going to make my cut a little bit further back, so okay, I think I got that part down.
Now let's go ahead and modify both tubs. This tub is from the bottom of the oven, so that's the one I'll start working on first. So since this was at the bottom, I want to remove the top. I'm going to use a ruler. The curvature of the tub begins where the ruler and metal begin to separate. So I'm going to go ahead and score. that area and I will do the same on the back of the tub connecting the lines to make our cut line now I will do the same on the opposite side and the tub at the top of the oven is about to lose its bottom with all the cut complete, now it's time to put everything back together, so now that it's back together, I can basically figure out my next step, which would be to close the gap between the top and bottom tubs that I ran to.
My local metal supplier and bought some metal sheets. This is the same gauge of steel as the rest of the stove. I didn't want to make anything thinner. I want these materials to withstand heat the same way all the original innards of the stove do. I have a lot of tools in my garage, but one tool I don't have is a metal brake, so to make this 90 degree bend nice and sharp I'll have to improvise using a couple of angle irons and a hammer, as you can see a piece of sheet metal filling the space is already installed and I couldn't press the record button.
Fortunately, the installation of the second piece is almost 100 percent the same, so not much was lost. I'm a little confused about this step here because there isn't much of an explanation, but it will all make sense in just a minute. Oh, with that last cut and fold, I basically made a 90 degree folded flap that covers that little gap, oh yeah. I almost forgot to make adaptations for that light opening. Fortunately, it's an easy fix and most of the time you don't need to get fancy, especially if it's not a critical cut. I had this can of spray paint lying around so I thought I would use it as a guide to get the gap closed and everything went
great
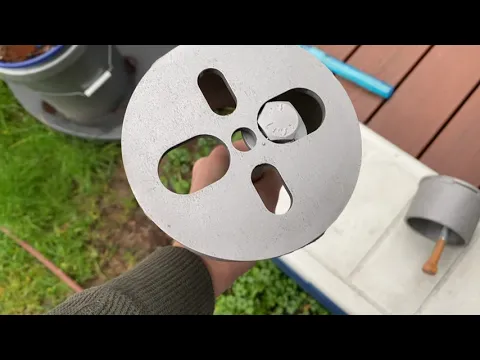
at first there were four heating elements these were mounted on top of the upper and lower ovens and these elements higher output were placed at the bottom of each of the ovens, so of the four, I'm going to reuse three, the top element will go back to its original place, one of the bottom elements will go back to its original location and I want to be able to mount the second heating element here basically against the back wall problem I ran into is that these two elements are facing up and I have to have them come out through the back wall just like the wires from the upper element. slow, so I'm going to have to modify this element a little bit and also build a little bracket so that this way it can hold onto this back wall.The first thing I want to do is bend both cables at a 90 degree angle and to do that I'm just going to use this tube. mainly for leverage, I really hope I don't screw this item up after doing the curve, that should work, it's there pretty solid, it's obviously going to have some play because even if you look at the original, there's a lot. of play there, so the way I made mine is a lot more rigid, so now with the interior done I can reconnect all the wiring and put all those panels back in place, so this part of the project It's officially over now that we have To figure out what we're going to do with the doors, I'm going to use this angle iron to join both doors into one and the plan is for this door to open outward from the side, like the door to your house. .
It started to rain but the show must go on so we moved under a tent before unifying the doors into one piece. First I want to close this gap and I'm going to use this piece of aluminum angle iron to do it. I measured this. I removed and drilled three holes that will correspond to the three holes at the bottom of the door with three screws. This thing is in there nice and tight and now I'm finally ready to turn both doors into one self-tapping piece. Screws are being used to speed up this part of the process with an angle iron screwed into place.
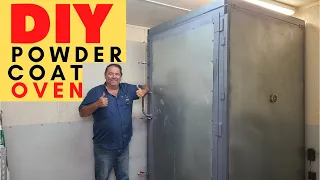
I now have a solid door and I would say it weighs between 60 and 70 pounds, so I figured three door hinges should be enough to hold it. place but if you look to the side I actually have a gap between the body of the stove and the hinge and my gap is three quarters of an inch that means I have to fill that gap and to do that I'm just going to use On this piece of wood that's exactly three-quarters of an inch thick, I put quite a few screws in there because I really wanted the connection between the piece of wood and the side of the stove to be really rigid and all of these screws would really unify that. the wood and the stove together and there is the door that opens and closes very easily, smooth as butter and up here behind this panel there is a latch that basically locks this door in place, now it doesn't move , so there is a hook that is activated with the lever. and it just sucks the door in, so if you look at the gap as I work the lever, the gap will get pretty small, it's about a quarter of an inch or less, now the gap gets a little bit bigger towards the bottom guys.
We're almost there, there's just a couple of little things I need to do to wrap this all up. One of them is that I have this cavity between the doors that I'm going to pack with some insulation and put this cover plate right on top of it. Basically, we will encapsulate everything and then place a high temperature gasket around the entire stove opening. The space between the door and the oven has been completely sealed with the gasket. However, if I go further down, that's where you'll still see. the gap and that's why we're going to have a latch down here basically sucking this door in to eliminate this gap once and for all this latch works
great
and closes that gap 100 at this point the last thing to do is connect that wiring to this socket.This is a standard 50 amp four prong plug. The top pin is ground and that is where the green wire goes. The bottom pin is the neutral, that's where the white wire goes and then the red and black wires will go. on the sides and it doesn't really matter which way they end up, this is done, so let's go ahead and plug it in and test it, let's go ahead and turn this on to make sure our heating elements are spinning. Okay, let's take a look and see what's going on here, so that heating element is definitely on and that one is also on, it's working and for the ultimate test, let's prepare and prepare a couple of pieces to turn into dust. coated and baked in our kiln, the parts that are powder coated must first be prepared and the best way to do this is to sandblast them.
I recently purchased this sandblasting cabinet and this will make my life so much easier while I get them. parts ready for the powder coating process, about 20 minutes in the shot blast cabinet between all three parts gave some pretty good
results
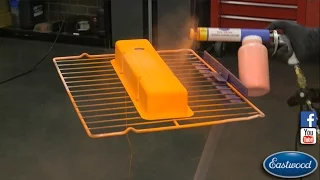
, so let's go ahead and see what's in the box. We have the power controller main unit gun and then there is a cable with pedal drive. that will basically activate the power to the gun, then there's a ground clamp, a couple of these dust cups, and an air filter. I got a couple pounds of this black high gloss powder so let's just let it cool and this thing even gives me thecuring
instructions so 15 minutes at 375 degrees and 375 is not the temperature of the inside of the stove but the actual temperature of the part being cured, I think that should be enough.I'm no stranger to car paint, but when it comes to dust I'm a total newbie and I'm sure there is definitely a learning curve when it comes to this. There are similarities between both processes, but they are surely different and since this is my first time doing powder coating, I'm really hoping I'm doing it the right way. I've noticed that if I shake the gun I end up agitating the powder inside the hopper and that makes the powder come out a little smoother instead of exploding into large, uncontrolled powder. clouds next time I do this I will spend more time experimenting with spraying with different air pressures to hopefully get different
results
.This piece is a little long so I pulled it on its side so the bottom of the panel wouldn't be too close to the heating element because I would like the heat distribution throughout the piece to be more or less equal. Okay, we're at 375 or380, so our panel is at the right temperature to start baking at this point. I'm going to set a timer for 15 minutes and we'll see what happens, okay, time's up, let's turn everything off, it looks nice and bright. I'm going to go ahead and let this cool for about 20 minutes and then I'll take it out of the oven.
This part is still warm to the touch, but it's out of the oven and looks pretty good. These lines here are something that is embedded in the metal due to the press breaking when this part was bent right into it. area, so it is not the defect of the powder coating and these are the cups for the airbags that go in the front suspension. They turned out great too. I bought a lot of things in the past that were powder coated and the finish quality is almost the same so I would call it a success. In the next video, we'll probably do that big six-piston Brembo brake conversion, so stick around.
Check that out and I'll see you in that video here real soon.
If you have any copyright issue, please Contact