YTread - Let's Read YouTube videos as Articles

"Cleveland in 4" - ESPN SHOCKED Cavaliers beat Magic 96-86 to take...
Cleveland in 4 - ESPN SHOCKED Cavaliers beat Magic 96-86 to take leads 2-0 series Mitchell 23 Pts by 10 they approved to 2 and0 on the series here in round...
Read More
Inside the NBA Reacts To Cavs Game 2 Victory Over The Magic | NBA on...
Inside the NBA Reacts To Cavs Game 2 Victory Over The Magic NBA on TNT so go ahead go ahead go boy go go ahead go he thats a win that is a win you want...
Read More
Jets Trade Zach Wilson To The Broncos, Hopefully Opens Door For A...
Jets Trade Zach Wilson To The Broncos Hopefully Opens Door For A Fresh Start Pat McAfee Reacts breaking news we have a trade in the NFL former jet...
Read More
The New York Jets FAILED Zach Wilson - Dan Orlovsky | NFL Live
The New York Jets FAILED Zach Wilson - Dan Orlovsky NFL Live Adam sheer what do we need to know Laura this is a trade that essentially had been agreed to...
Read More
David Attenborough Was Attacked By Rhinos | Earth Day | The Graham...
David Attenborough Was Attacked By Rhinos Earth Day The Graham Norton Show and now in your own house you have some no I dont have one in my no no you but...
Read More
Anjunadeep presents Earth Day 2024 | Melodic, Organic, House
Anjunadeep presents Earth Day 2024 Melodic Organic House a oh br br w he oh this go two n you you so to to mountain mountain m mountain...
Read More
Knicks Stun Sixers in Playoff Thriller!
Knicks Stun Sixers in Playoff Thriller and were coming to you live from the mil for tough Studio Boomer and Greg gady its Boomer and go on the fan Sim cast...
Read More
Inside the NBA reacts to LeBron & Lakers Game 2 Tough Loss
Inside the NBA reacts to LeBron Lakers Game 2 Tough Loss spor deal com what was that Pepto H Toms Toms called me hey heres the Tuesday night schedule on...
Read More
Inside the NBA reacts to Lakers vs Nuggets Game 2 Highlights
Inside the NBA reacts to Lakers vs Nuggets Game 2 Highlights they do all those highlights lets see how this thing played out man we take the Nuggets Joker...
Read More
“People Show Regret One They’ve Been Caught” | BBC’s Huw...
People Show Regret One Theyve Been Caught BBCs Huw Edwards Resigns Adan before we come on to that welcome by the way um youve worked at the BBC you youve...
Read More
'Face of the BBC' resigns: Huw Edwards leaves BBC in 'inevitable' and ...
Face of the BBC resigns Huw Edwards leaves BBC in inevitable and momentous move lets start with that breaking news of course its been confirmed that Hugh...
Read More
BRUTAL FINISH - London Marathon 2024 RACE VLOG (COURSE PB)
BRUTAL FINISH - London Marathon 2024 RACE VLOG COURSE PB well done great work yeah take care rain rain rain what is up guys Andy Forest De Runner here...
Read More
LONDON MARATHON 2024! INCREDIBLE CROWDS! THAT WAS SOMETHING SPECIAL!
LONDON MARATHON 2024 INCREDIBLE CROWDS THAT WAS SOMETHING SPECIAL yeah we love you we love you 245 pack we ready lets go woo I open my Andy lets go TR ...
Read More
Middlesbrough 3-4 Leeds United | The INSTANT Match Reaction
Middlesbrough 3-4 Leeds United The INSTANT Match Reaction for for why give a away why give a fuing stupid no no no back set it off whenever you want e ...
Read More
CRAZY GAME! | Middlesbrough v Leeds United extended highlights
CRAZY GAME Middlesbrough v Leeds United extended highlights take back cranking up you know its M Night in mid when you hear that the rain falling such a...
Read More
Spectacular Parade From the St George's Day in London Today ( 20th...
Spectacular Parade From the St Georges Day in London Today 20th April 2024 you left right left right left right left right left right left right he...
Read More
Blippi Learns Trucks at the Fire Station and More | Educational Videos...
Blippi Learns Trucks at the Fire Station and More Educational Videos for Toddlers hey its me honey and today were at the Bellevue Washington fire station...
Read More
Podcast #262 - Playing Incohearent
Podcast 262 Playing Incohearent welcome back to the Julian podcast these marvel cosplaying here ladies and gentlemen we have Kermit on the table today who...
Read More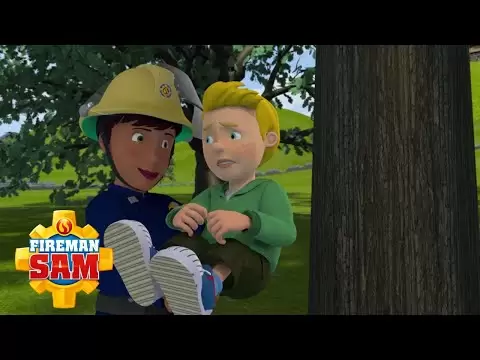
Ellie Saves James! | Fireman Sam Official | Cartoons for Kids
Ellie Saves James Fireman Sam Official Cartoons for Kids yes james how many actual fires have you put out lots james i bet she hasnt put out as many...
Read More
The myth of globalisation | Peter Alfandary | TEDxAix
The myth of globalisation Peter Alfandary TEDxAix I sometimes describe myself as a culturally conflicted Englishman I am first generation born in the UK...
Read More
Archeology - exploring the past with modern technology | DW History...
Archeology exploring the past with modern technology DW History Documentary the technical technological advancement is rapid so rapid its almost...
Read More
From landscape architecture to conservation agriculture | Thomas Woltz...
From landscape architecture to conservation agriculture Thomas Woltz TEDxCharlottesville the conservation agriculture studio at Nelson Burt waltz...
Read More
1000 COMMON ENGLISH QUESTIONS AND ANSWERS for beginners | English...
1000 COMMON ENGLISH QUESTIONS AND ANSWERS for beginners English Conversation me are you American no Im not Im Canadian do you speak English a little but...
Read More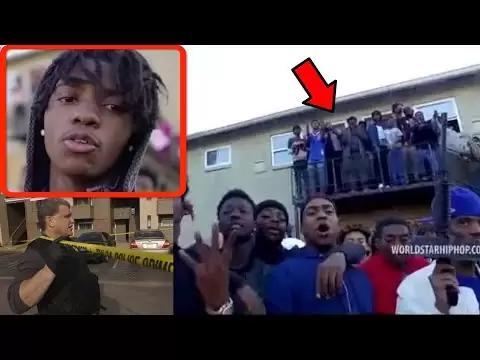
Pull Up Wit Ah Stick: The Music Video that Took Down a Neighborhood
Pull Up Wit Ah Stick The Music Video that Took Down a Neighborhood police are trying to find the shooter or shooters involved in the murder of a man in...
Read More
Finding f(x): Why I teach for the Philippines | Delfin Villafuerte |...
Finding fx Why I teach for the Philippines Delfin Villafuerte TEDxXavierSchool Im gonna try something Ill say class and you will answer with yes but you...
Read More
Magpakailanman: Revenge body against my body-shaming crush | Full...
Magpakailanman Revenge body against my bodyshaming crush Full Episode Adrian goes to beta the ease of course in the mutual understanding at io that...
Read More
I Found a MILLIONAIRE Only Server in Minecraft!
I Found a MILLIONAIRE Only Server in Minecraft I have found a millionaire only server in Minecraft look at these millionaires on the server always coming...
Read More
Cathering mcbroom ass - Catherine Paiz | Before and After...
Cathering mcbroom ass Catherine Paiz Before and After Transformations Plastic Surgery Transfor A few of you requested that I do a Beforeand After vid on...
Read More
Desert Survival, Tame Craft Build | Starsand Gameplay | First Look
Desert Survival Tame Craft Build Starsand Gameplay First Look how is it going this is game edge and thank you so much for joining me this is star sand...
Read More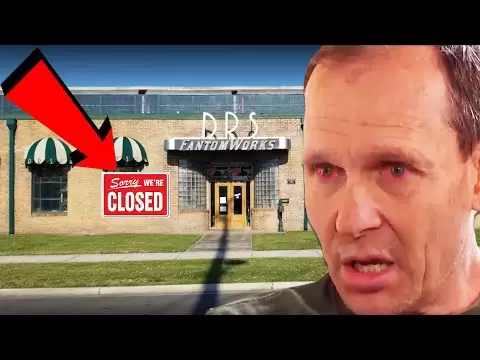
FantomWorks Officially ENDED After This Happened... IS FANTOMWORKS...
FantomWorks Officially ENDED After This Happened IS FANTOMWORKS STILL OPEN IN 2021 phantomworks officially ended after this happened i pull into the garage...
Read More
IELTS LISTENING- ITALIA BREAKS - EBENZ DAY 51"},"lengthSeconds":"2246"...
IELTS LISTENING ITALIA BREAKS EBENZ DAY 51lengthSeconds2246ownerProfileUrlhttpwww section one you will hear a man telephone a travel company to book a...
Read More
PORQUE MARK SLADE ( BLUE ) DEJO LA SERIE EL GRAN CHAPARRAL ????
PORQUE MARK SLADE BLUE DEJO LA SERIE EL GRAN CHAPARRAL hola amigos que tal soy jota y bienvenidos a mi canal hoy veremos porque mrquez ley de abandono...
Read More