YTread - Let's Read YouTube videos as Articles

Ryan Garcia COMPLETELY EMBARRASSED Himself.. Again | Press Conference...
Ryan Garcia COMPLETELY EMBARRASSED Himself Again Press Conference Breakdown FINAL PREDICTION all right so Im so excited for this video we are back with...
Read More
'RYAN GARCIA WILL QUIT ON HIS STOOL!' - Eddie Hearn predicts 'NO MAS'...
RYAN GARCIA WILL QUIT ON HIS STOOL - Eddie Hearn predicts NO MAS vs Haney radio raah here with Eddie Hearn we are in the middle of chaos weve been in the...
Read More
LISTENING TO THE TORTURED POETS DEPARTMENT + THE ANTHOLOGY FOR THE...
LISTENING TO THE TORTURED POETS DEPARTMENT THE ANTHOLOGY FOR THE FIRST TIME Full Album Review hello hello and welcome hey everyone its currently 1202...
Read More
SDE Record Store Day Preview 2024
SDE Record Store Day Preview 2024 welcome to another Super Deluxe Edition Unboxing video today were going to do a preview of Record Store Day for 2024 Im...
Read More
FULL Record Store Day (RSD) 2024 Walkthrough
FULL Record Store Day RSD 2024 Walkthrough right jazz is going home but Im staying here we go lets see whats on the wall for a Record Store Day 2024 we...
Read More
literally no one remembers Spiderwick Chronicles
literally no one remembers Spiderwick Chronicles you know one thing Ive learned doing these videos for so many years now is that if I just wait long enough...
Read More
LIVE: Chinese Grand Prix Post Sprint Show
LIVE Chinese Grand Prix Post Sprint Show the new season is underway master class this is so close contact the come it Max claims title number three well...
Read More
F1 Sprint Highlights | 2024 Chinese Grand Prix
F1 Sprint Highlights 2024 Chinese Grand Prix here we go here come the lights for the first Sprint of the year and we are racing in Shanghai good reaction...
Read More
Iran’s Missile Force is Worse Than You Think
Irans Missile Force is Worse Than You Think Iran has the largest and most capable ballistic missile Arsenal in the Middle East the Islamic Republic is the...
Read More
Iran's foreign minister responds after Israel attacks on Iran
Irans foreign minister responds after Israel attacks on Iran Israel and Iran tonight playing down the apparent Israeli retaliatory strike inside Iranian...
Read More
Taylor Swift’s TTPD: DECODING Which Songs Are About Joe Alwyn, Matty...
Taylor Swifts TTPD DECODING Which Songs Are About Joe Alwyn Matty Healy Travis Kelce E News swifties assemble Taylor Swifts 11th studio album The...
Read More
Taylor Swift "T̲h̲e̲ ̲T̲o̲r̲t̲u̲r̲e̲d̲ ̲P̲o̲e̲t̲s̲ �...
Taylor Swift The Tortured Poets Department ALBUM Playlist with Lyrics I was supposed to be sent away but they forgot to come and get me I was a...
Read More
Chicago Bulls vs Miami Heat Full Game Highlights | 2024 NBA Play-In...
Chicago Bulls vs Miami Heat Full Game Highlights 2024 NBA Play-In Tournament welcome everyone you ready you game Im game out of Bio tips it back but...
Read More
2024 NBA PLAYOFF PREDICTIONS
2024 NBA PLAYOFF PREDICTIONS so its that time of year again the NBA Playoffs tip off tomorrow so were going to be giving you our picks for every first...
Read More
Sacramento Kings vs New Orleans Pelicans Full Game Highlights - April...
Sacramento Kings vs New Orleans Pelicans Full Game Highlights - April 19 2024 2023-24 NBA Play In spend over 150 when you can buy them for 55 or less at...
Read More
New Orleans Pelicans vs Sacramento Kings Full Game Highlights | 2024...
New Orleans Pelicans vs Sacramento Kings Full Game Highlights 2024 Play-In FreeDawkins we are live in New Orleans from Smoothie King Center its win or go...
Read More
Blippi Learns Trucks at the Fire Station and More | Educational Videos...
Blippi Learns Trucks at the Fire Station and More Educational Videos for Toddlers hey its me honey and today were at the Bellevue Washington fire station...
Read More
Podcast #262 - Playing Incohearent
Podcast 262 Playing Incohearent welcome back to the Julian podcast these marvel cosplaying here ladies and gentlemen we have Kermit on the table today who...
Read More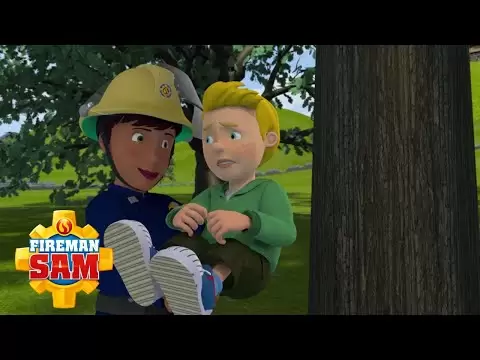
Ellie Saves James! | Fireman Sam Official | Cartoons for Kids
Ellie Saves James Fireman Sam Official Cartoons for Kids yes james how many actual fires have you put out lots james i bet she hasnt put out as many...
Read More
The myth of globalisation | Peter Alfandary | TEDxAix
The myth of globalisation Peter Alfandary TEDxAix I sometimes describe myself as a culturally conflicted Englishman I am first generation born in the UK...
Read More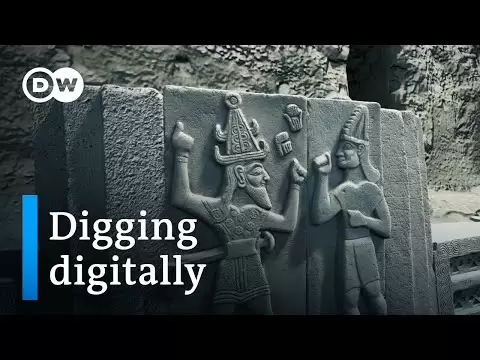
Archeology - exploring the past with modern technology | DW History...
Archeology exploring the past with modern technology DW History Documentary the technical technological advancement is rapid so rapid its almost...
Read More
From landscape architecture to conservation agriculture | Thomas Woltz...
From landscape architecture to conservation agriculture Thomas Woltz TEDxCharlottesville the conservation agriculture studio at Nelson Burt waltz...
Read More
1000 COMMON ENGLISH QUESTIONS AND ANSWERS for beginners | English...
1000 COMMON ENGLISH QUESTIONS AND ANSWERS for beginners English Conversation me are you American no Im not Im Canadian do you speak English a little but...
Read More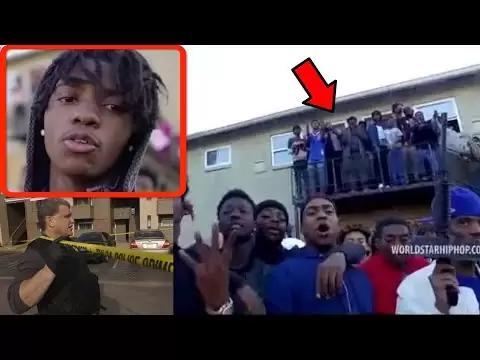
Pull Up Wit Ah Stick: The Music Video that Took Down a Neighborhood
Pull Up Wit Ah Stick The Music Video that Took Down a Neighborhood police are trying to find the shooter or shooters involved in the murder of a man in...
Read More
Finding f(x): Why I teach for the Philippines | Delfin Villafuerte |...
Finding fx Why I teach for the Philippines Delfin Villafuerte TEDxXavierSchool Im gonna try something Ill say class and you will answer with yes but you...
Read More
Magpakailanman: Revenge body against my body-shaming crush | Full...
Magpakailanman Revenge body against my bodyshaming crush Full Episode Adrian goes to beta the ease of course in the mutual understanding at io that...
Read More
I Found a MILLIONAIRE Only Server in Minecraft!
I Found a MILLIONAIRE Only Server in Minecraft I have found a millionaire only server in Minecraft look at these millionaires on the server always coming...
Read More
Cathering mcbroom ass - Catherine Paiz | Before and After...
Cathering mcbroom ass Catherine Paiz Before and After Transformations Plastic Surgery Transfor A few of you requested that I do a Beforeand After vid on...
Read More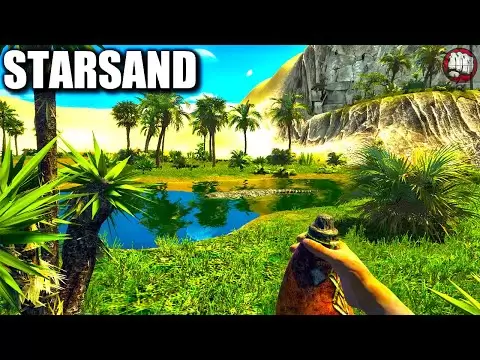
Desert Survival, Tame Craft Build | Starsand Gameplay | First Look
Desert Survival Tame Craft Build Starsand Gameplay First Look how is it going this is game edge and thank you so much for joining me this is star sand...
Read More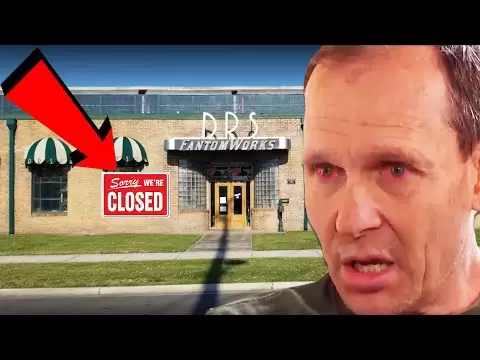
FantomWorks Officially ENDED After This Happened... IS FANTOMWORKS...
FantomWorks Officially ENDED After This Happened IS FANTOMWORKS STILL OPEN IN 2021 phantomworks officially ended after this happened i pull into the garage...
Read More
IELTS LISTENING- ITALIA BREAKS - EBENZ DAY 51"},"lengthSeconds":"2246"...
IELTS LISTENING ITALIA BREAKS EBENZ DAY 51lengthSeconds2246ownerProfileUrlhttpwww section one you will hear a man telephone a travel company to book a...
Read More
PORQUE MARK SLADE ( BLUE ) DEJO LA SERIE EL GRAN CHAPARRAL ????
PORQUE MARK SLADE BLUE DEJO LA SERIE EL GRAN CHAPARRAL hola amigos que tal soy jota y bienvenidos a mi canal hoy veremos porque mrquez ley de abandono...
Read More